
 EN
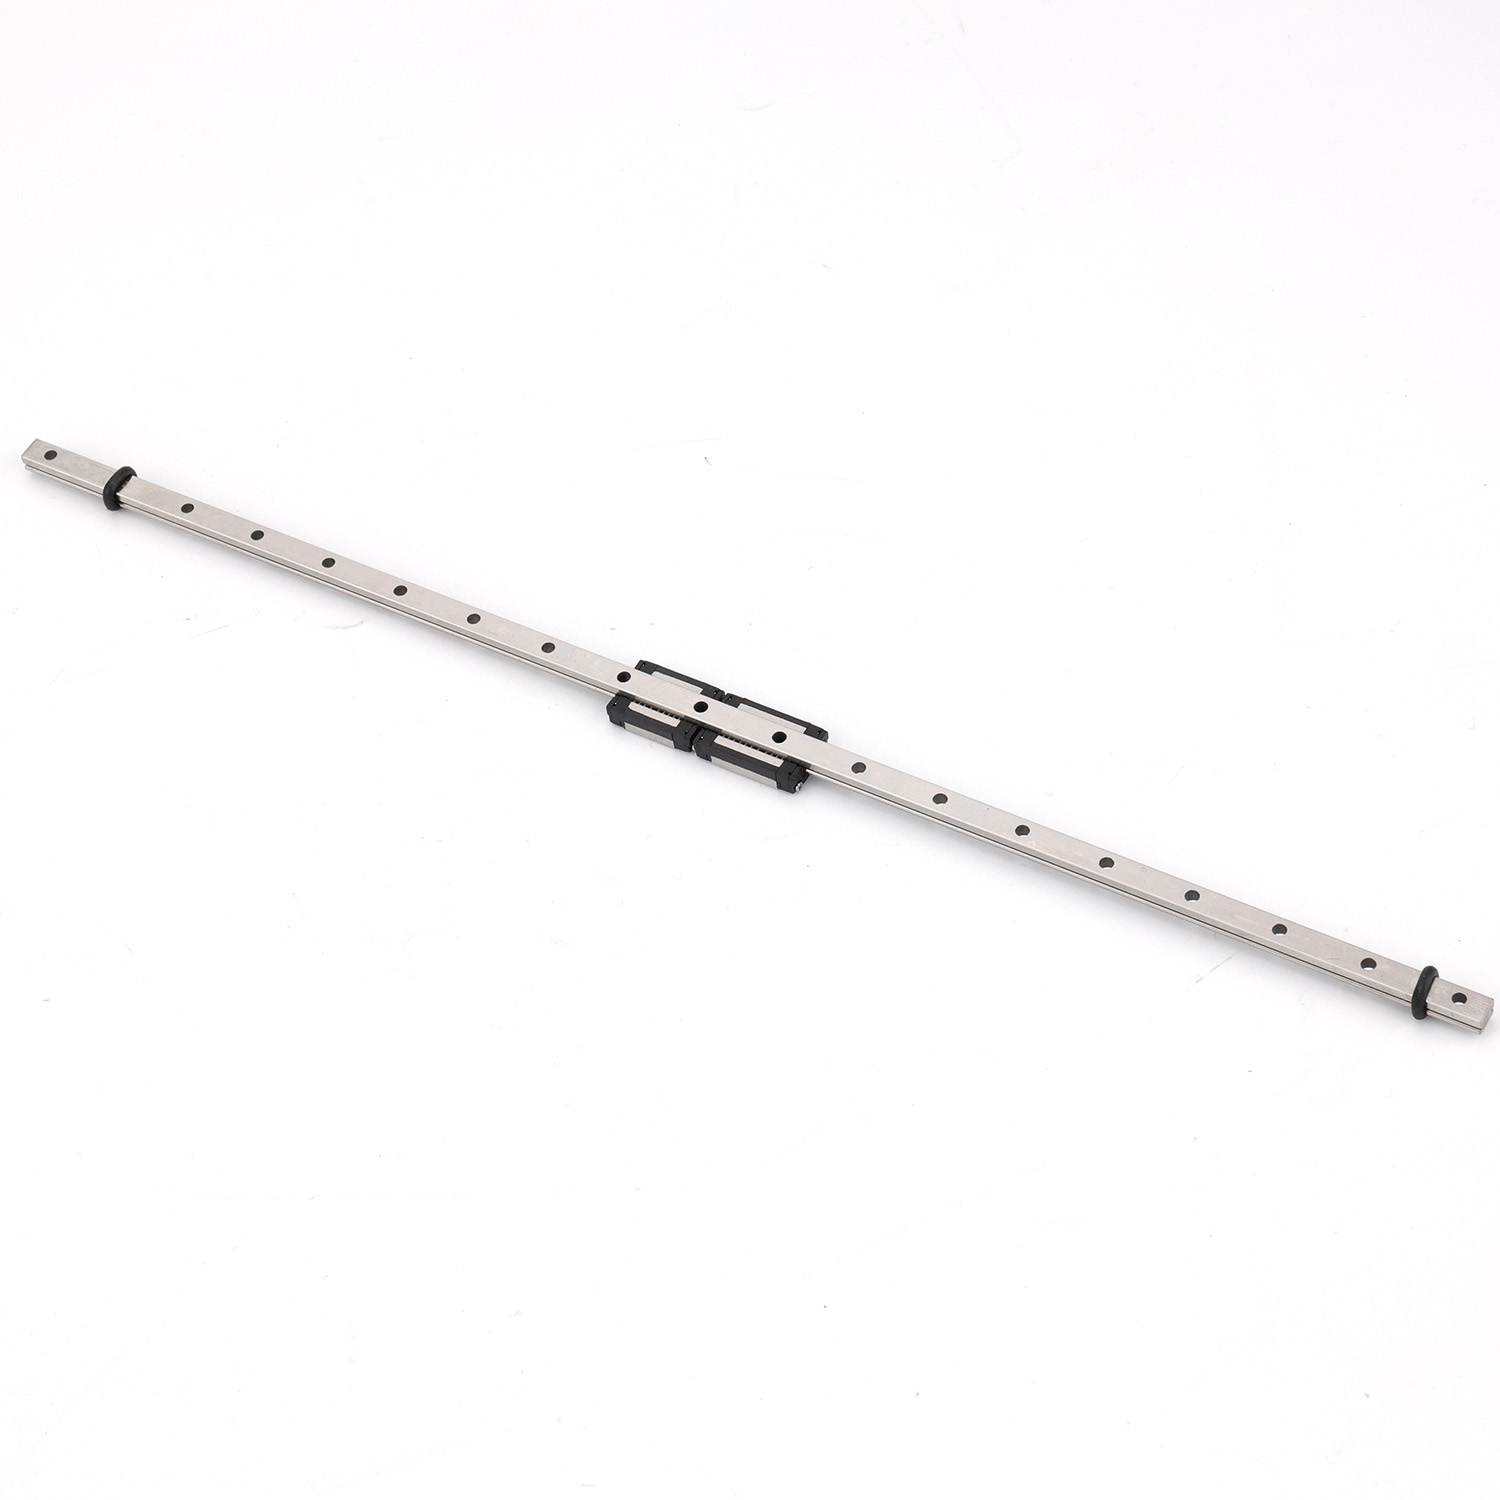
Installing a slide rail correctly is essential for ensuring smooth motion, extending equipment lifespan, and maintaining operational safety in industrial applications. A poorly installed slide rail can lead to binding, premature wear, misalignment, and costly downtime. Whether you are working with linear motion systems in manufacturing, automation, or precision machinery, understanding the proper installation procedure for a slide rail is a critical skill that separates professional results from amateur mistakes. This guide walks you through the complete process of how to install a slide rail with precision and confidence.
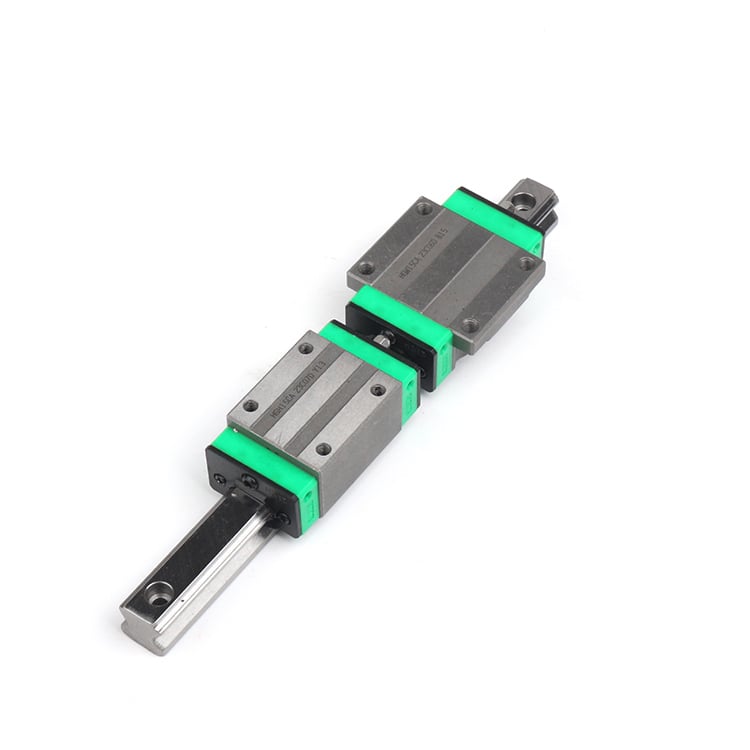
Before you begin any installation work, proper preparation is the foundation of success. Taking time to gather tools, inspect components, and understand the specifications will determine whether your slide rail performs reliably for years or requires frequent maintenance and adjustment. The five-step installation method outlined below has been refined through countless industrial applications and represents best practice for most standard slide rail configurations.
Step 1: Prepare Your Work Area and Gather Essential Tools
Creating an Optimal Installation Environment
The environment where you install your slide rail significantly impacts installation quality and long-term performance. Choose a clean, dry, dust-free work area that is well-lit and organized. Any debris, dust, or moisture present during installation can compromise the precision of your slide rail and cause operational issues later. Place all components on a clean workbench and inspect each piece carefully before proceeding. Verify that the mounting surface is flat, clean, and free from rust, paint, or protective coatings that could affect the slide rail alignment.
Tools and Materials Required for Slide Rail Installation
Gather the following tools before beginning: a torque wrench for accurate bolt tightening, precision measuring instruments such as dial indicators or laser alignment tools, a level or straightedge for verification, appropriate fasteners matched to your specific slide rail specifications, lubricating oil recommended by the manufacturer, and safety equipment including gloves and eye protection. Having all required tools within reach prevents interruptions during the critical installation process and reduces the risk of damaging components. A slide rail requires precision, so invest in quality measurement tools rather than relying on guesswork or approximate measurements.
Step 2: Inspect Components and Verify Specifications
Thorough Component Inspection Before Installation
Before installing a slide rail, inspect all components for shipping damage, manufacturing defects, or contamination. Check the slide rail body, carriages, fasteners, and any seals or protective covers for signs of impact, corrosion, or visible defects. Verify that you have received the correct slide rail model and size as specified in your assembly drawing or project documentation. Cross-reference the part number on the slide rail against your purchase order and installation manual. Any discrepancies discovered at this stage are far easier to resolve than problems discovered during or after installation.
Confirming Mounting Surface Alignment and Flatness
Use precision measuring tools to verify that your mounting surface meets flatness and alignment requirements for your slide rail installation. Most industrial slide rails require mounting surfaces with flatness tolerances in the range of 0.01 inches per foot or better. Place a straightedge across the mounting surface and measure any gaps or high spots. If the mounting surface is not adequately flat, machine or shim the surface before proceeding with slide rail installation. Poor surface preparation is one of the most common causes of binding and premature wear in installed slide rails.
Step 3: Position the Slide Rail and Establish Alignment
Accurate Positioning and Orientation of the Slide Rail
Begin installing a slide rail by carefully positioning it on the prepared mounting surface according to your installation drawing. Ensure the slide rail is oriented correctly and aligned with reference marks or mounting holes. Use alignment pins or temporary fasteners to hold the slide rail in position while you verify alignment. Apply a small amount of manufacturer-recommended lubricant to bearing surfaces before installation, as this helps carriages move smoothly during and after the installation process. Never force a slide rail into position; if resistance is encountered, stop and investigate the cause of misalignment.
Verification of Linear and Angular Alignment
Use precision measurement tools to verify that your slide rail is perfectly aligned before tightening fasteners permanently. Check for linear alignment along the length of the slide rail and angular alignment in both horizontal and vertical planes. A dial indicator mounted on a movable carriage can verify that the slide rail maintains consistent height and straightness. Most industrial applications require alignment accuracy within 0.01 to 0.05 inches across the length of the slide rail. Document your alignment measurements in case future troubleshooting becomes necessary. Installing a slide rail with precision at this stage prevents costly adjustments and operational issues later.
Step 4: Secure Fasteners with Correct Torque Values
Applying Proper Torque During Slide Rail Fastening
Once your slide rail is properly aligned, begin fastening it to the mounting surface using the fasteners specified in the installation manual. Use a calibrated torque wrench to apply the exact torque value recommended by the manufacturer. Fasteners that are too loose will allow the slide rail to shift and misalign during operation, while fasteners that are too tight can strip threads, crack mounting surfaces, or damage the slide rail body itself. Tighten fasteners in a gradual, cross-pattern sequence similar to tightening wheel lug nuts, applying torque in multiple passes rather than fully tightening individual fasteners one at a time. This distributes clamping force evenly across the slide rail and prevents distortion.
Fastener Tightening Sequence and Best Practices
Follow a specific pattern when fastening your slide rail, beginning at the center and working outward toward the ends. After tightening all fasteners to approximately 50 percent of the final torque value, perform a complete second pass at 75 percent, and then apply final torque on a third complete pass. This three-step approach ensures even clamping pressure and maintains the precise alignment you established earlier. Once fasteners are fully tightened, verify alignment a second time using your measuring tools. Many installers find that final tightening slightly shifts the slide rail, making this verification step essential for optimal installation results.
Step 5: Test Operation and Apply Final Lubrication
Checking Smooth Operation After Installation
With the slide rail securely fastened, manually move the carriage along the entire length of the rail to verify smooth, binding-free motion. The carriage should move easily without sticking, grinding noises, or irregular motion. Any resistance or binding indicates misalignment, contamination, or installation error that must be corrected before the equipment enters service. Move the carriage multiple times from end to end, feeling for consistent smoothness throughout the full travel range. This hands-on testing immediately reveals problems that might not be apparent from visual inspection alone, making it a crucial final verification step for any installed slide rail.
Lubrication and Final Documentation
Apply the manufacturer-recommended lubricant according to specifications for your slide rail model and operating environment. Most industrial slide rails require periodic re-lubrication, so document the lubrication schedule and product specifications for future maintenance. Proper lubrication reduces friction, extends the lifespan of the slide rail, and ensures consistent performance. Verify one final time that all fasteners remain tight after testing, as operation may cause slight settling that requires minor adjustments. Create an installation record documenting alignment measurements, torque values applied, lubricant type used, and the date of installation. This documentation supports future maintenance and troubleshooting efforts and ensures continuity if another technician services the equipment later.
FAQ
What is the most common mistake when installing a slide rail?
The most common installation error is inadequate surface preparation and alignment verification. Many installers rush through the alignment step, assuming that fasteners alone will keep a slide rail properly positioned. In reality, a poorly aligned slide rail will bind and wear prematurely regardless of how tight the fasteners are tightened. Taking time to verify flatness, linearity, and angular alignment before final fastener tightening is the single most important factor for successful slide rail installation and long-term reliability.
How often should I check alignment after installing a slide rail?
Perform a complete alignment check immediately after installation and then at regular intervals based on your equipment operating schedule and environment. Most industrial applications benefit from annual alignment verification to confirm the slide rail has not shifted due to vibration, thermal expansion, or normal wear. If your equipment operates in a harsh environment with significant vibration, temperature fluctuation, or heavy loads, increase the inspection frequency to every six months. Document all alignment checks and any adjustments made to track the performance history of your slide rail installation.
Can I reuse fasteners when reinstalling a slide rail?
Most manufacturers recommend using new fasteners when removing and reinstalling a slide rail, as fasteners experience stress and potential strain during initial installation. Reusing fasteners may result in inconsistent clamping force, reducing the reliability of the slide rail installation. New fasteners are relatively inexpensive compared to the cost of equipment downtime caused by a failed slide rail connection. If budget constraints require fastener reuse, inspect all fasteners carefully for damage, stripped threads, or distortion before reinstalling, and replace any questionable fasteners with new ones to maintain installation quality.